Claim tabs and more
Assurance's claim display is where the work happens. It is sometimes called the claim form interface (CFI Claim Form Interface (CFI) is the claim display in Assurance. CFI represents the selected claim so that users can review, change, validate, or delete it. CFI contains multiple tabs (pages).). It presents
the claim you have selected so that you can review it, change it, validate
it, or delete it. Each claim has multiple pages, or tabs. Click a tab to open
the page.
| Tab name | Image | Usage |
|---|---|---|
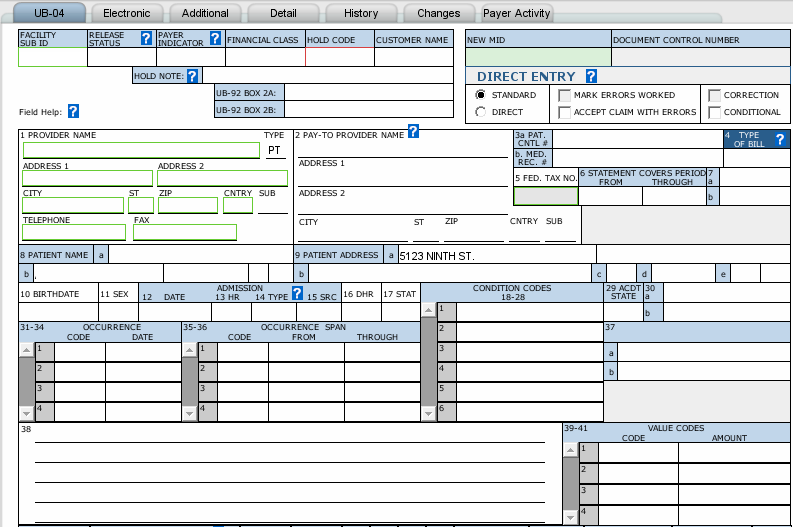
| UB-04 |
|
The UB-04 tab looks like the institutional paper claim form. There are also special system fields required to handle your claim workflow such as the Release Status and Hold Code fields. |
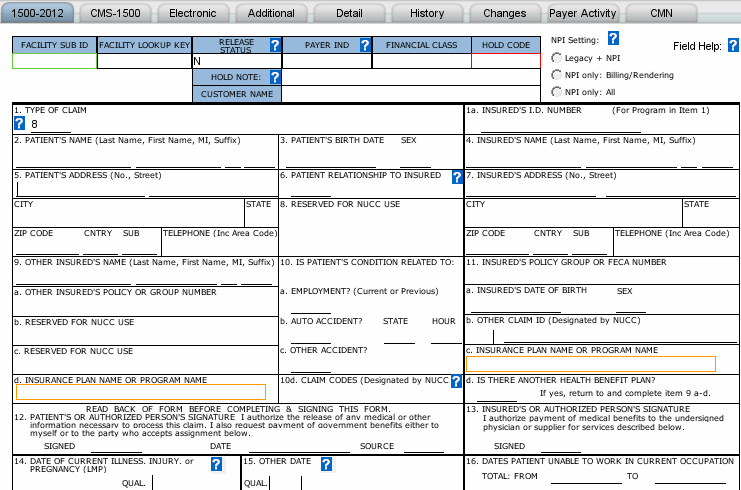
| 1500-2012 CMS-1500 |
|
The 1500-2012 and CMS-1500 tabs looks like the professional paper claim forms. There are also special system fields required to handle your claim workflow such as the Release Status and Hold Code fields. |
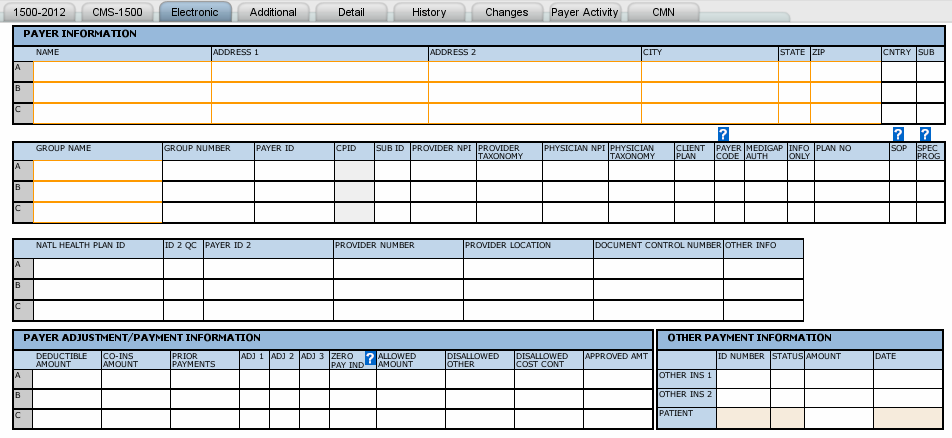
| Electronic | Institutional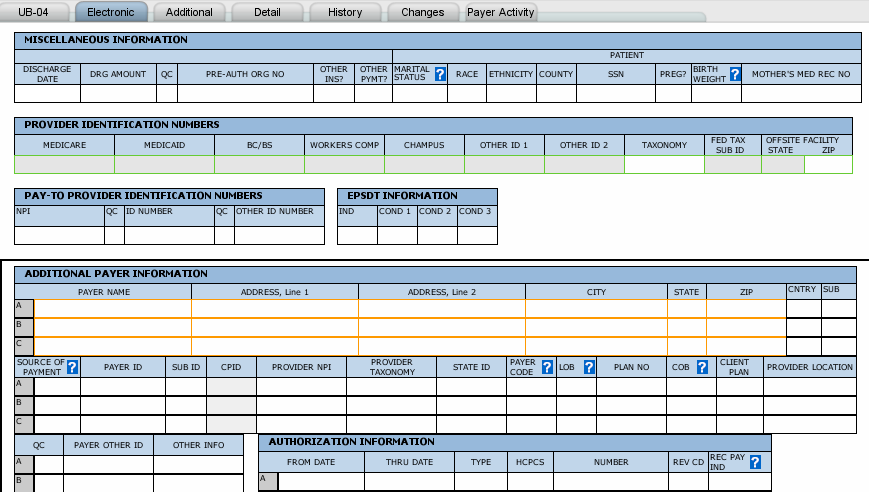 Professional |
Check this tab for extra claim-level fields required by some payers. The Electronic tab in both claim forms includes three client-specific fields. |
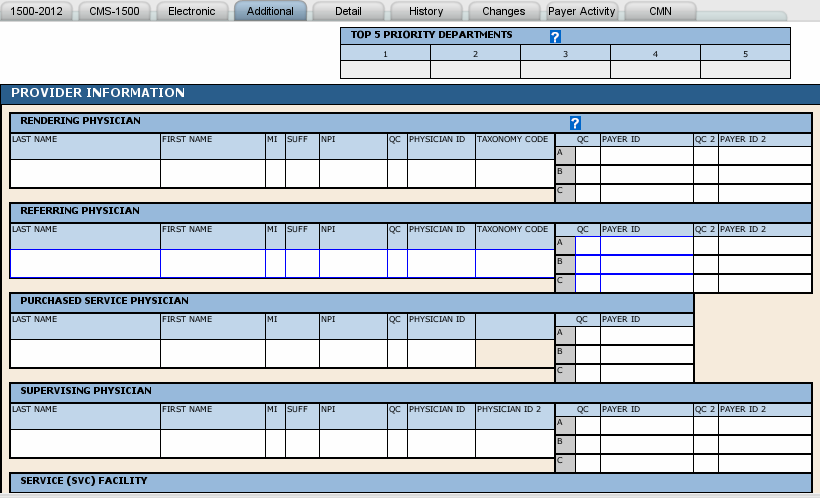
| Additional | Institutional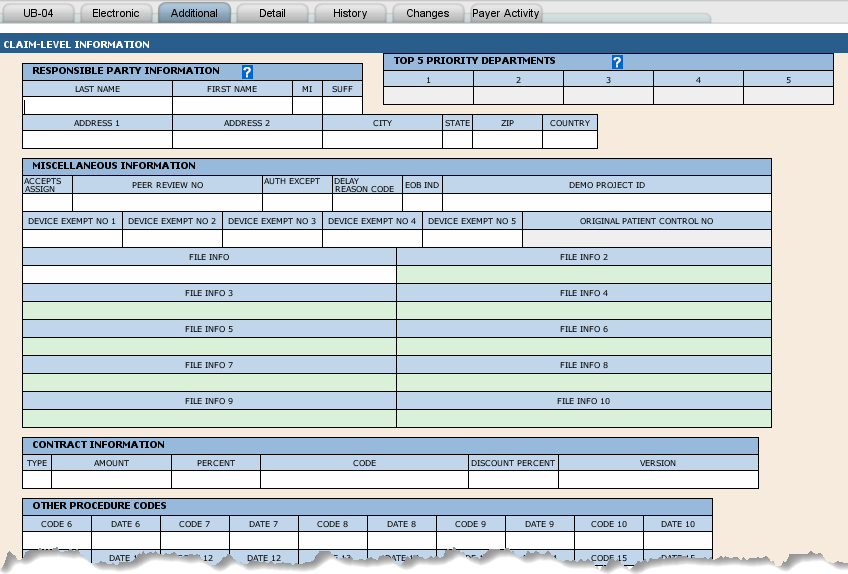 Professional |
Check this tab for extra claim-level fields required by some payers. The system populates the Top five (5) priority departments fields on this tab only if your site uses the Manage Claim Assignments workflow feature to assign claims to different departments based on the type of error. |
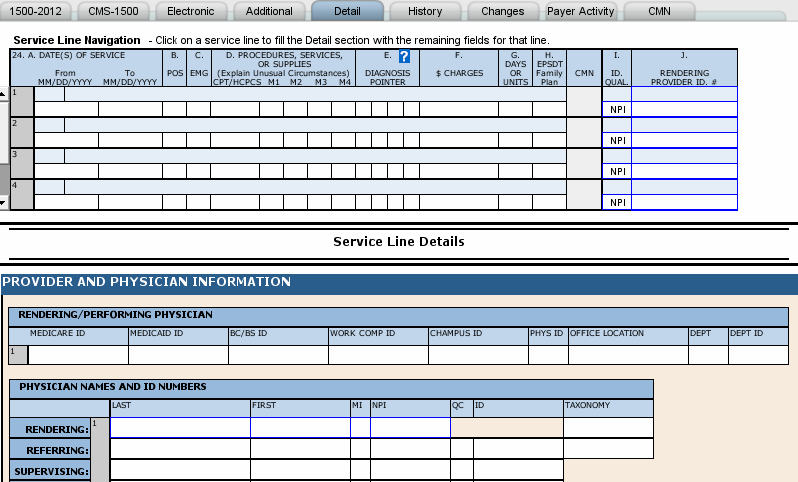
| Detail | Institutional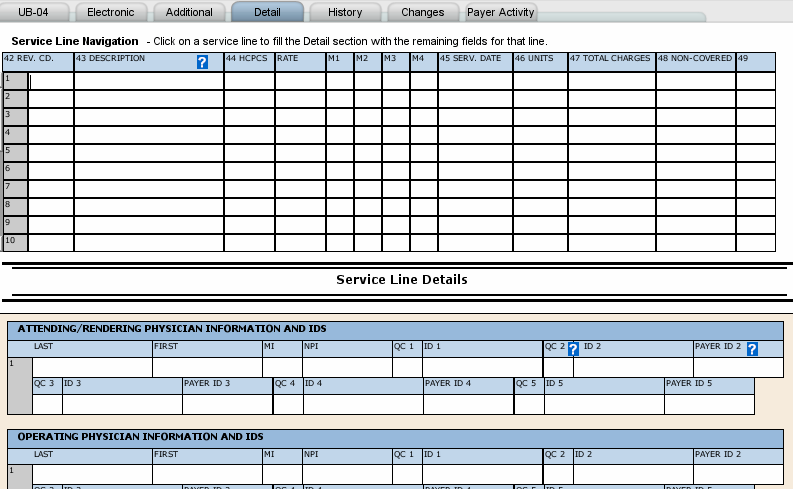 Professional |
All service line information - view all fields for a service line on one page. |
| History | 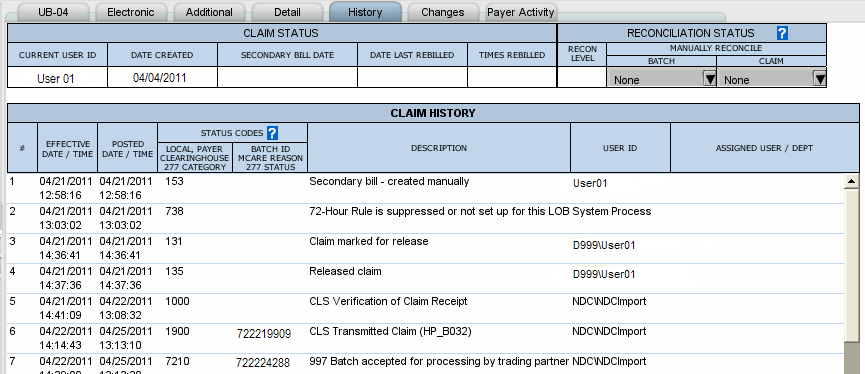
|
Check the History tab for a record of all activity related to the open claim. Note that you can use any listed local, payer, clearinghouse, or 277 category code in the claim filter to target claims. This tab also displays any added user claim notes. |
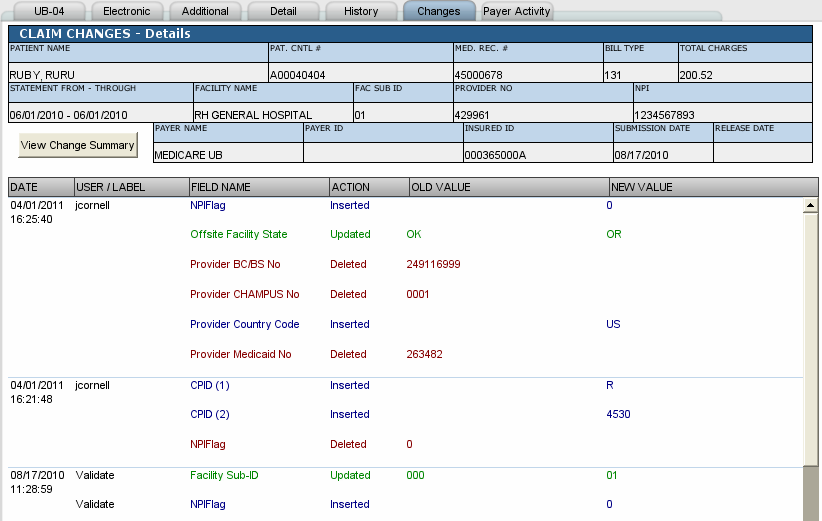
| Changes |
Summary: 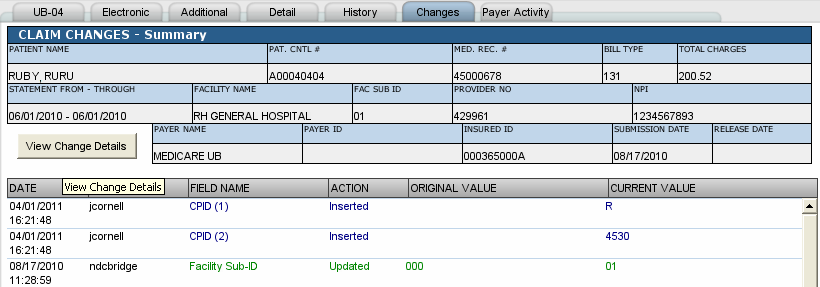
Detail |
Captures all changes made to all fields on the claim, including changes made during claim submission. You can review a summary of claim changes, or the claim change details. |
| Payer Activity | 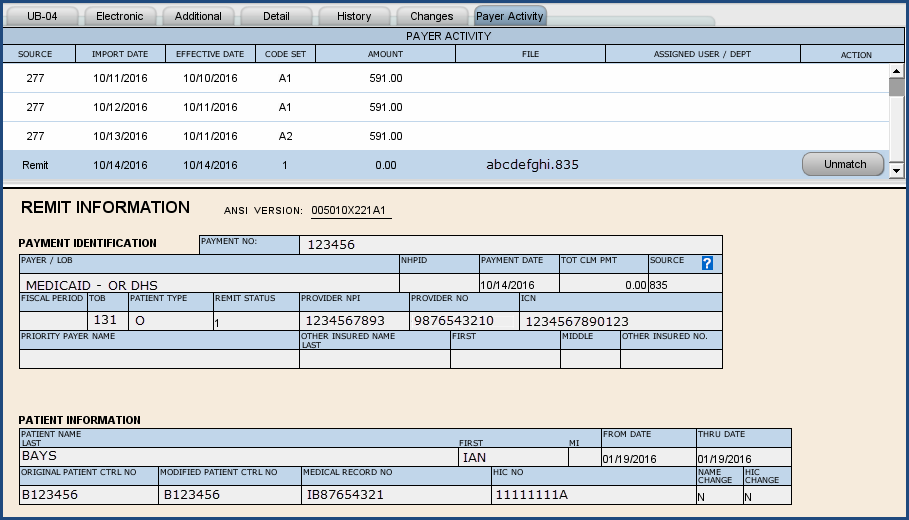
|
Shows a table of any transaction information returned by the payer related to the claim: eligibility transactions, claim status responses, and 835 payment information. This tab also shows if there are appeals, attachments, or anticipated payment information associated with the claim. Select any row from the table to display the payer transaction, appeal, attachment, or anticipated payment information. |
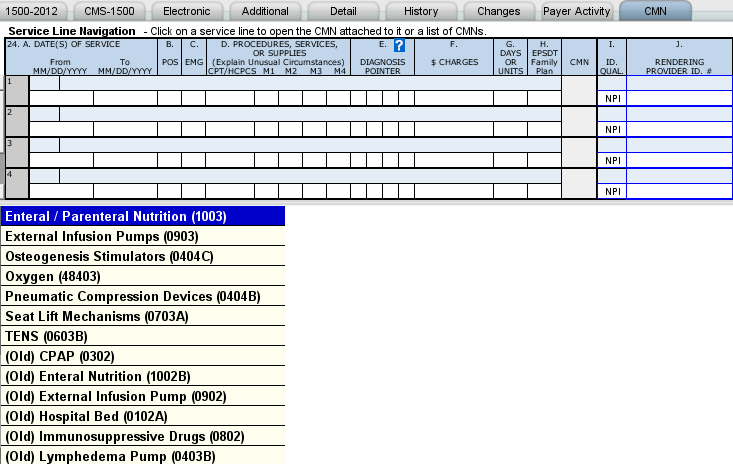
| CMN Certificate of Medical Necessity (CMN) is documentation that Medicare requires from a doctor to show that certain durable medical equipment (DME) is deemed medically necessary.
|
|
Available for certificates of Medical Necessity (CMN) when the claim is on a professional form. |
| NCPDP | 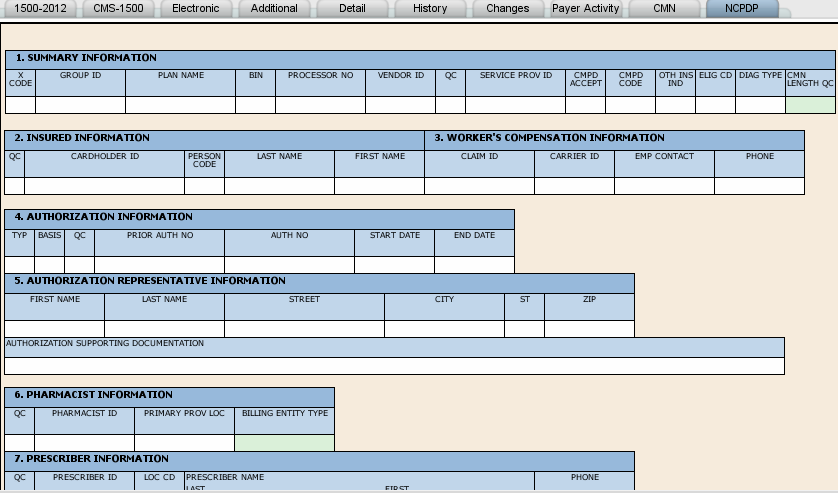
|
Displays if the open claim is a professional claim and your site is configured to send drug claims on the standard NCPDP form. |
CMNs
CMNs for durable medical equipment (DME) can be attached to service lines of 1500 claims. To attach a CMN, click the CMN tab. Click in the service line to which the CMN should be attached, then double-click the CMN you need. The CMN will display in the lower portion of the page. Fill in the fields and save the claim. If a CMN is already attached to the service line, it automatically displays in the lower portion of the page when you click in the service line.
Claim field background colors
| Background color | Meaning |
|---|---|
| No color | No error, data can be changed |
| Red | All errors: Edits, Eligibility, or Direct Entry |
| Yellow | Warning |
| Dark blue | Overridden Error - Compliance, Eligibility, or Direct Entry |
| Orange | Worked Eligibility or Edit Error |
| Light green | Any field that is new since the last release |
| Gray | Read-only field |
In addition, fields with colored borders can be filled automatically.
You can read but cannot change the following data:
- Released Released reflects an accepted claim sent to the clearinghouse for transmission to the payer, for printing, and/or for archive. claim data. To change
data on a released claim to resend it, use the Rebill button.
- Status tab data
- Payer Activity tab data
- Any claim field with a gray background
- Hover the cursor over a toolbar button to read the name plus the hot key when available.
- To move to areas of the claim that you can't see, drag the window pane that is over the thumbnail sketch in the upper left corner.
- To see any other page, click its tab.
- To move from claim to claim, use the claim count/navigation bar.
- To pick from the list of claims, click the Go to Claim button on the toolbar.
Help with errors
To correct claim errors, click the error title in the error list on the left side of the claim display. The error text message will tell you what's wrong. Another way to determine what's wrong with a field is to click the field and then press F7 to display the error text message. Correct the error and continue through the error list. You can copy and paste text from the error text message into the field.
Field help
Fields that use clearinghouse-specific codes are marked with a blue question mark. Click the question mark to read the allowable codes for the field. Fields that use just one or two codes display a tip when the cursor is moved over the field. Fields that use industry-standard codes do not have a Help list. Instead, refer to the guide for those codes.
Assigning claims to other users
If you run across an error or issue on a claim that you are unable to address, you can route the open claim to a valid (active) user for follow-up and completion. See Claim Assignment to find out how.
Validate claims
Any change you make to a claim requires that you validate it against the payer requirements. Errors generated by other sources require that you check the validity of those fields with the source of the error:
- For standard edit master errors, change the data and validate the claim. There is no need to validate after every change, but the claim is rejected and will not go to the payer until it is clean.
- If you are using direct entry, the claim may also contain eligibility errors from Medicare. Run check eligibility to validate corrected eligibility errors on your Direct claims.
- If you are using eligibility edits, claims may also contain eligibility errors from the active payer. Use the Eligibility button to send a follow-up Eligibility request to the active payer to validate Eligibility errors.